The demand for professional-looking videos is growing rapidly. Many people want to create engaging tutorials, vlogs, or presentations that stand out. The Picture-in-Picture (PiP) effect enhances video quality by allowing one video to overlay another, making content more dynamic and informative. This technique is especially useful in tutorials where viewers can see both the presenter and the material being discussed.
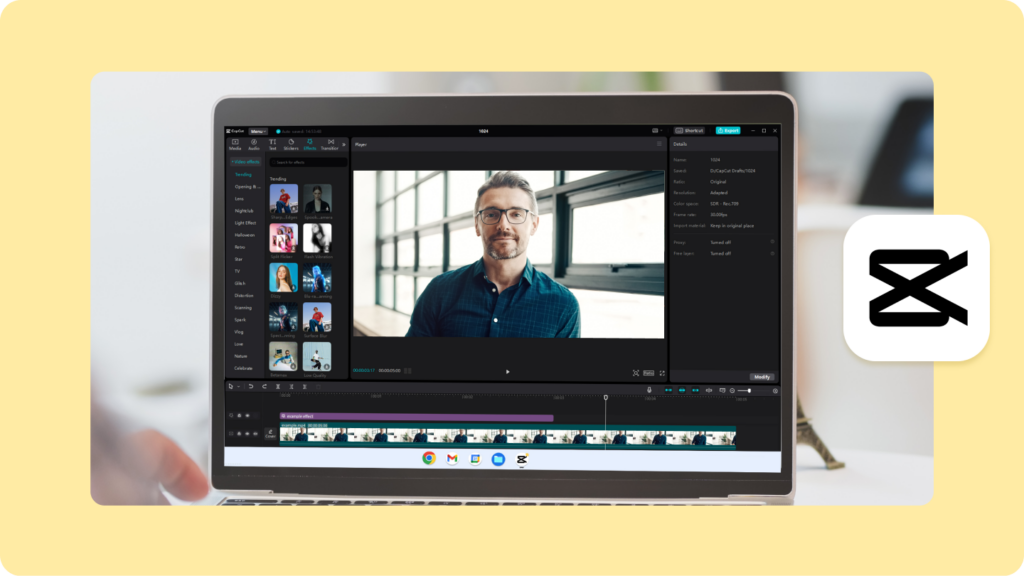
For those looking to create such effects easily, the CapCut desktop video editor is a powerful tool. It simplifies the process of adding PiP effects, making it accessible to everyone. While many features are free, some advanced tools may require payment. If you’re interested in elevating your video content, explore this video editing software further. Dive into our complete blog to learn more about creating stunning videos!
What is the Picture-in-Picture (PiP) Effect?
Picture-in-Picture (PiP) is a video effect that lets viewers watch one video while seeing another smaller video in a corner. This technique is common in various settings:
- Gaming Streams: Players showcase gameplay while reacting to it.
- Online Classes: Instructors present lessons alongside visual aids.
- Reaction Videos: Creators respond to content while showing the original video.
The PiP effect boosts engagement by allowing viewers to follow multiple narratives at once. It enhances storytelling and provides dual perspectives.
Using tools like the video background remover can refine PiP videos by removing distractions, making the main content stand out. CapCut’s desktop editor offers these features for free, making it easy for anyone to create polished PiP videos.
Why Use CapCut Desktop Video Editor for PiP Effects?
CapCut desktop video editor is a great choice for creating videos with Picture-in-Picture (PiP) effects. Reasons why it excels:
- User-friendly interface: The layout is simple and intuitive, making it easy for anyone to start editing their videos without a steep learning curve.

- Customizable PiP options: You can easily resize, reposition, and add effects to your overlay content, allowing for creative freedom in your projects.
- Powerful tools: CapCut includes features like the video background remover and AI caption generator, which significantly enhance the quality of your videos. The background remover helps you create clean and professional-looking overlays, while the caption generator saves time by automatically creating text for your videos.
While many features are free, some premium tools, such as advanced transitions or high-resolution exports, require payment. This allows users to choose how much they want to invest in their editing experience.
CapCut is also suitable for professional content creation, as it does not add watermarks to videos made with free tools. This makes it ideal for creators who want to produce high-quality content without extra costs. CapCut provides a range of features designed for editors of all levels, making video creation both straightforward and enjoyable.
Steps to Create a Picture-in-Picture Effect on CapCut Desktop Video Editor
1. Get and Set Up CapCut Video Editor for PC
To download the CapCut desktop video editor, first visit its official website. A prominent “Download” button is available on the homepage. Click it to start the download process. The software is free to install, which makes it a great choice for everyone.
After completing the download, start the installer and proceed with the simple steps. In just a few moments, you will have CapCut ready on your computer. Now you can begin editing your videos with ease and creativity. Enjoy exploring all the features it offers!
2. Import Your Video Files
Open CapCut and start a new project. In the top-left corner, click the “Import” button. A file explorer will open, allowing you to browse your files. First, select your main video file and click “Open.” This adds the video to your project.
Next, repeat this step to import your overlay video. After importing both videos, you will see them in your media library.

Now, drag each video onto the timeline below. This setup allows you to edit and arrange them as you like. Enjoy creating your project!
3. Add the Overlay Video as PiP
To add an overlay video as Picture-in-Picture (PiP) in the CapCut desktop video editor, follow these steps:
- Drag the overlay video to the timeline above your main video. This creates a new track for your overlay, allowing it to play over the main footage.
- Resize the overlay by dragging the corners. You can make it smaller or larger based on your needs. To reposition it, simply click and move it to your desired spot on the screen. Placing it in a corner often works well.
- Customize your overlay with options like borders, transitions, and opacity adjustments for a unique look.
- Using the video background remover can enhance your overlay by removing unwanted backgrounds, making it blend seamlessly into your project.
These simple steps will help you create engaging videos with a polished PiP effect. Enjoy editing!
4. Preview and Adjust Settings
To preview the PiP effect, play your video and check the alignment. Make sure everything looks good. If needed, adjust settings like playback speed for smoother viewing. You can also mix the sound to balance audio levels. These small tweaks can enhance your video’s overall quality and impact.
5. Export and Share
To generate your video in CapCut, select the Export button at the top-right. Choose your preferred resolution and format, like MP4 or MOV. Remember, high resolutions may need a paid plan. After exporting, share your video on social media for more views. Moreover, use the AI caption generator for better accessibility.
Wrapping Up
The PiP effect boosts video quality, making content more engaging. CapCut simplifies editing with tools like the video background remover and AI caption generator, allowing users to create polished videos easily. Explore the CapCut desktop editor with its free and premium features to enhance your skills. Try CapCut for PiP effects in your next project!


